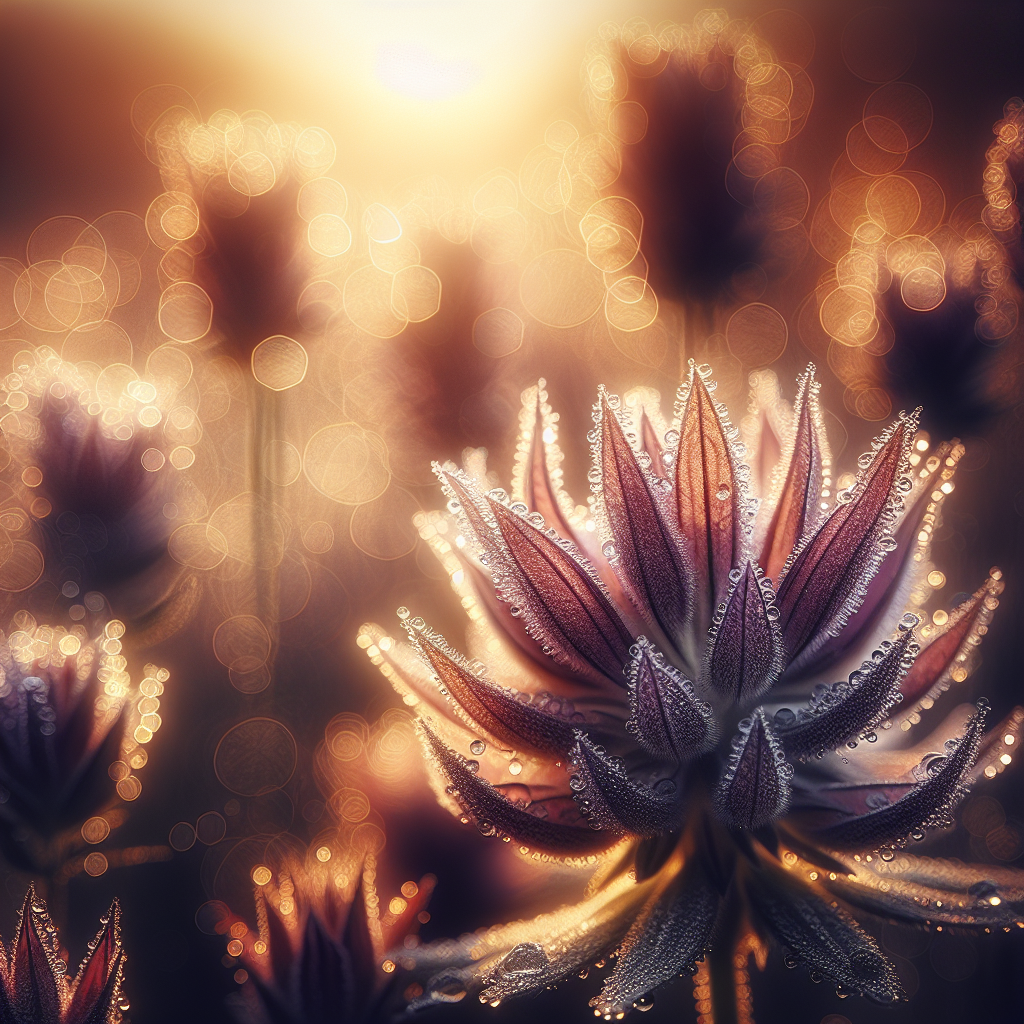
As an art form, macro photography creates stunning and unique images from the tiniest subjects. It refers to close-up photography, usually involving smaller items or details that are often overlooked by the naked eye. By bringing these minute details into focus, photographers unveil a world of beauty and complexity. This comprehensive guide will equip beginners and enthusiasts with the essential skills to become proficient in the art of macro photography.
Understanding Macro Photography
Macro photography is defined by the life-size ratio of the subject to its representation on the camera sensor. A 1:1 ratio is typically accepted as the benchmark for true macro photography. This means that the image projected onto the digital sensor (or film plane) is the same size as the subject in real life. However, many photographers consider any close-up image that reveals detail not easily seen by the naked eye to be “macro.”
Equipment for Macro Photography
- Macro Lens: A macro lens with a 1:1 reproduction ratio is essential. While general lenses can shoot close-ups, they cannot achieve the level of detail offered by a dedicated macro lens.
- Tripod: A sturdy tripod provides stability and reduces camera shake, allowing for clearer, sharper images.
- Remote Shutter Release or Timer: This tool minimizes camera movement caused by manually pressing the shutter button.
- Flash Diffuser: Lighting is critical in macro photography. A flash diffuser can create more evenly distributed, soft light, reducing harsh shadows.
Techniques for Perfect Macro Images
Manual Focus: Auto-focus can struggle at very close distances. Therefore, using manual focus allows better control, ensuring the exact part of your subject is in sharp focus.
Maximum Depth of Field: Use a smaller aperture (larger f-number) to increase the depth of field, capturing more details in focus. However, bear in mind that this will decrease the amount of light entering the lens, so adjust your exposure accordingly.
Compose Your Shots: Composition rules like ‘Rule of Thirds’ or ‘Golden Ratio’ still apply to macro photography. Experiment with angles and framing to capture aesthetically pleasing images.
Mastering Light and Background
In macro photography, light and background can significantly add to or detract from your subject. Direct light can create harsh shadows, so diffusers or reflectors could help soften it. For background, pick something that complements your subject and doesn’t distract from its details.
Conclusion
Macro photography unlocks a fascinating world that lies beyond our visual perception. While it poses unique challenges, by understanding your equipment, utilizing the right techniques and harnessing creativity, you can thrive in this genre of photography. Keep practicing, experimenting, and challenging yourself to continue growing and enhancing your macro photography skills.
Frequently Asked Questions
1. Can I perform macro photography with any camera?
While you can attempt close-up images with any camera, for true macro photography, a dedicated macro lens with a 1:1 reproduction ratio is needed.
2. Why is my macro image blurry?
The cause of a blurry image could be camera movement, or your subject is out of your narrow depth of field. Using a tripod and manual focus can help tackle these issues.
3. How do I light my tiny macro subjects appropriately?
Avoiding direct light to prevent harsh shadows is crucial. Use a flash diffuser or reflector to create soft, diffused light.
4. Can I perform macro photography indoors?
Yes, macro photography can be done indoors or outdoors. It provides flexibility as you can create your setup and control your environment.
5. How can I improve my macro photography skills?
Practice, patience, and experimentation are key. The more you shoot, the better you’ll understand your equipment and refine your technique.

